Monday, November 3, 2014

Affordable Flooring Upgrade


When we purchased our home, all the flooring had been tastefully redone, with the exception of the laundry room and the upstairs bathroom. Those two rooms still had the original 1980's linoleum. They were pretty damn ugly. Behold...


The laundry room even had brown stains that I couldn't get off for the life of me. 


As hideous as the linoleum was, I couldn't bring myself to do anything expensive in the laundry room because, after all it was just a laundry room. I consider painting the floors but was afraid that as soon as I tried to bring the washer and dryer back into the room I'd scratch and ruin my newly painted floors.

Then a couple weeks ago my mother in law suggested peel and stick tile and I thought it was the perfect solution for our laundry room. When I went to Lowe's and found tile that almost perfectly matched the existing tile in both our downstairs bathrooms, I figured it was meant to be.

See what I mean? It blends in perfectly with the tile we already had!


This really was such an easy and affordable project. Here's the breakdown:

1. Clean floors thoroughly and allow them to dry.
2. Find center point of room and begin laying tile from there.
3. When you get to the edges/corners, trim the tile to the size needed using scissors or a razor blade.
4. For tricky edges (around door trim, etc) create a template out of paper and trace it onto the back of the tile before cutting it out.

At 88 cents per tile, this project cost us a grand total of $38, and took less than 4 hours! Not bad for a brand new floor. 


Do you have any creative ideas for updating your floors on a budget? As always, thanks for stopping by!


Love,
Jesse

Wednesday, August 27, 2014

5 DIY Projects that Increase the Value of your Home

There are probably thousands of DIY projects out there to make the space you live in more beautiful or more functional.  But if you are on a tight budget like me, you may be looking for inexpensive things you can do on your own to not only make your home more beautiful, but also more valuable.  Here is a roundup of my top 5 favorite DIY projects that I've done to my house (so far) that will undoubtedly help me sell my home for top dollar down the road.


5. Framing Builder Grade Mirrors

Framing a large mirror is a simple and inexpensive way to make a room feel custom rather than builder grade.  Read about how we framed out bathroom mirror here.


4. Spray Paint Doorknobs

If your house is equipped with brass doorknobs and fixtures, by far the cheapest way to upgrade them is to spray paint them.  Read how easy this is to do here.


3. Remove Popcorn Ceilings

I must admit that removing popcorn ceilings is a mess, and I'd be lying if I told you we were finished with this project in our home.  Actually, we are just getting started!  The transformation is totally worth the work and mess however.   Here is the tutorial I followed and it is so easy and so inexpensive!

2.  DIY Patio

If your yard doesn't have a patio,  I highly recommend adding one before putting it on the market.  This doesn't just make the yard more aesthetically pleasing, but it also makes it more functional.  Function = value when it comes to real estate.  We saved thousands of dollars by installing the patio ourselves, and the result was well worth the effort.  Learn more here.   


And the #1 DIY project that has added value to our home is....

1.  Painting the Kitchen Cabinets

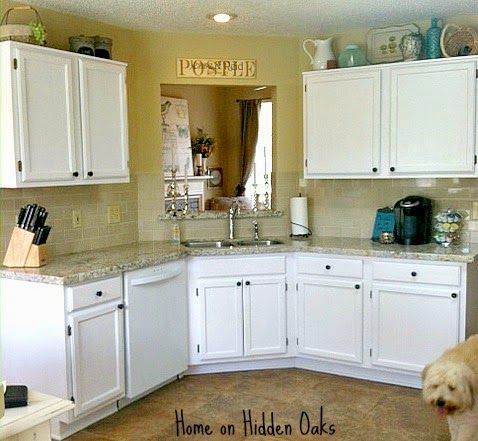
Kitchens and bathrooms sell houses, its a well proven fact.  When most people see a dated kitchen, they see dollar signs $$$$.  The good news is, we took years off our home just by painting our oak kitchen cabinets, and it cost us less than $100!  I'm so in love with our kitchen now, and it doesn't hurt to know that our house is more valuable because of it now!  Read more about that project here.


All of these projects are easy to do without any special skills or tools.  Some take more patience than others, but when the time comes to sell our home, the return on investment will make it all worth the effort!  Have you done any projects around your home that have made it more valuable?

As always, thanks for stopping by!
Jesse 


Monday, June 30, 2014

Babies "showered" with love

When I found out my beautiful friend Valerie was pregnant with multiples I knew I had to throw her an amazing baby shower. I had an absolute blast planning and hosting this party and I can't think of a more deserving family of such a special gift.

Since Val is expecting both boys and girls, I wanted the theme to be appropriate for both sexes. In the end, I decided to embrace the "shower" theme, and filled my home with lots of rain drops! Let's start with the invitation, shall we?

I created the invitations (for free!) using picmonkey.com. You'll note for the purposes of this post that I removed the text that had my phone number and address on it, just because I figured it was smarter than spreading all my personal information across the internet :)


The favors were bars of soap next to sign that said "From Val's shower to yours..." Cute, right? 

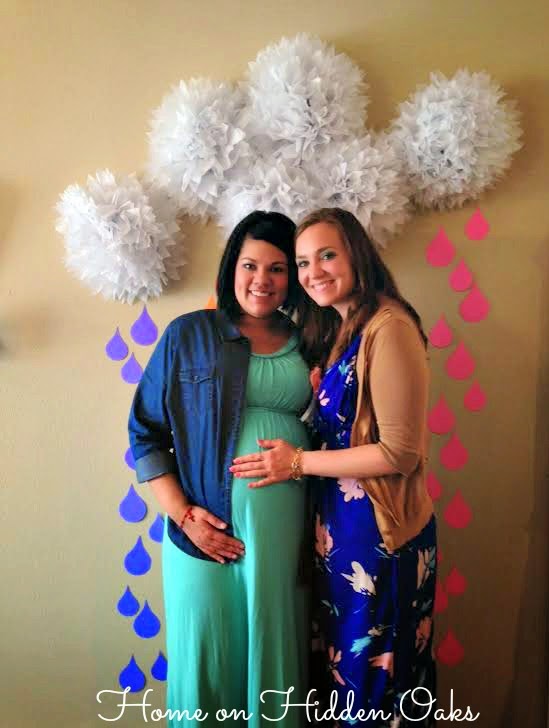
The party took place in the main living space of our home. The living room and dining room were both decked out with flowers, candles, a raindrop photo booth, custom made artwork, and a sweet "celebrate" banner made of pink and blue onesies. The bar was stocked with delicious mimosas (and I was sure to have a "virgin" version for the mom-to-be!). Here is the custom made artwork (again, I used picmonkey.com for all of these) up close:


And here is a close up of the photo booth:
Sorry the photo is blurry, it was super cute in person!


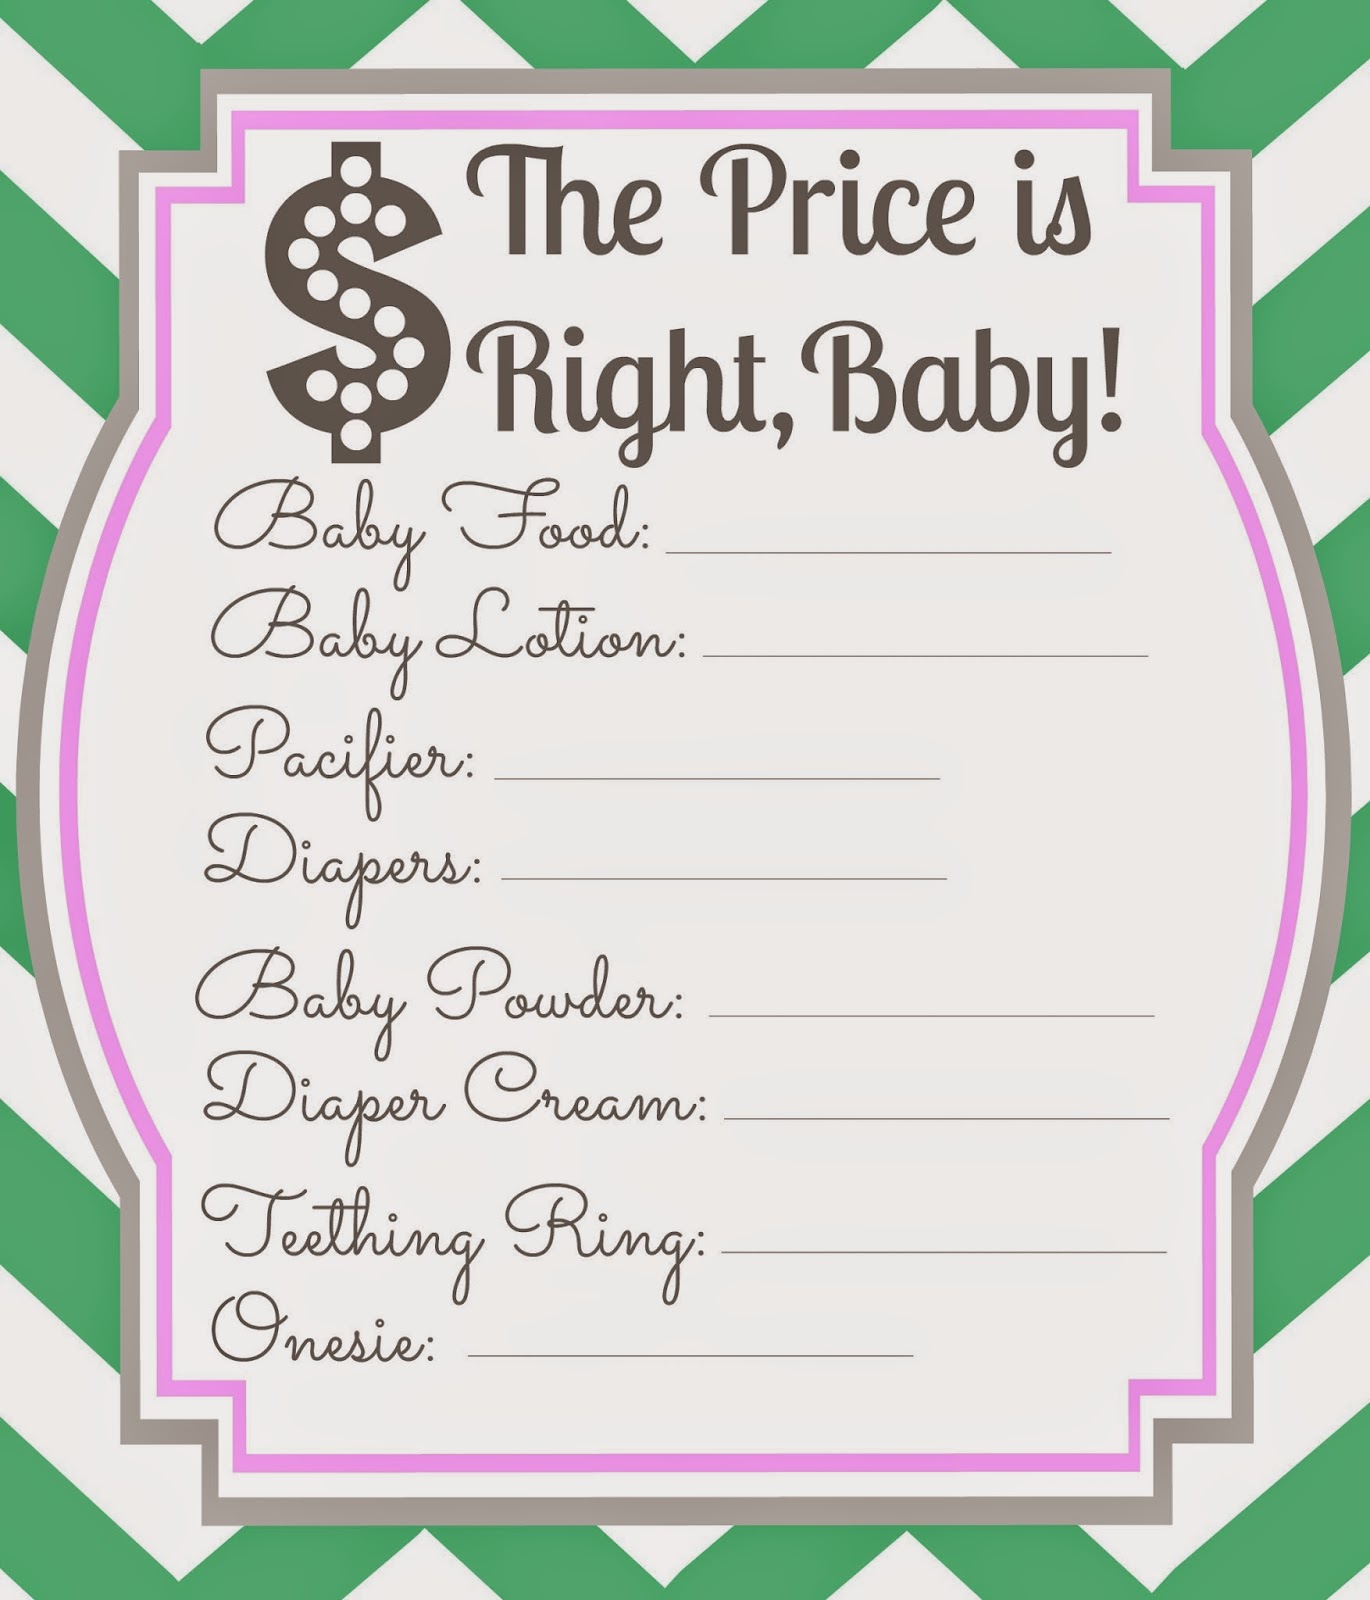
We also played lots of fun games...


And I created sweet prize boxes for the winners of all the games...

Inside the prize boxes were candles, hand soap and sanitizer from Bath & Body Works.

In the kitchen there was food and drinks for everybody to enjoy... 


I forgot to take a picture of the tea until the morning after the party, which is why it doesn't looks so fresh, haha! But I wanted to share with you the labels anyway :)


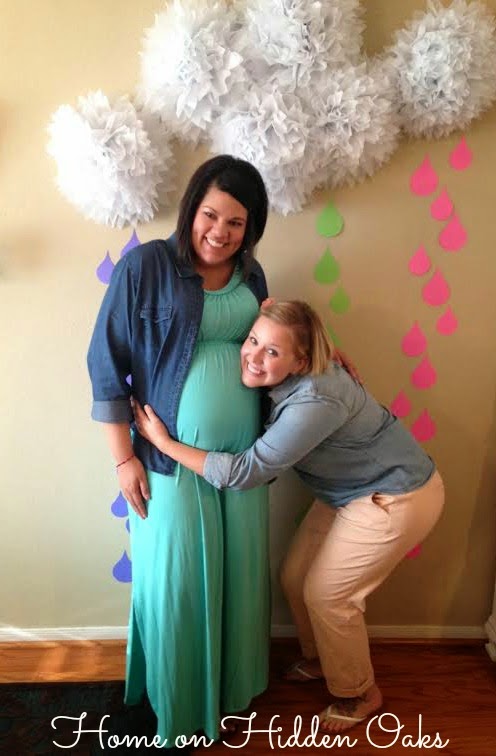
We had a great turn out, and everybody seemed to enjoy themselves! 


Valerie - I love you girl! I am so so SO glad you are my friend, I don't know what I'd do with out you. You  are a beautiful friend, woman and mother! I can't wait for all the adventures to come with your beautiful babies!!


-Jesse

Thursday, June 12, 2014

The half bathroom gets an overhaul (again)

Do you remember a few months ago when we had "finished" updating our half bathroom? It looked like this:

I'd painted the cabinet a nice grey color, swapped out the light fixture, painted an accent wall blue, framed the mirror, installed a toilet paper holder and generally decorated with some pretty items. 

Well, we had a little leak in our attic which led to this:


Which meant that our "finished" half bathroom needed to be refinished.  So we ripped down the dry wall and exposed our glorious galvanized pipes (ugh). 

Suffering through a leak was almost worth it because now we have at least one room in our house without popcorn ceilings. It may be the smallest room in the entire place, but you gotta start somewhere. 

New drywall was hung...


And then all the walls had to be painted. The walls also had to be painted because when you install a new ceiling, the top parts of the walls get covered in the dry wall mud. I used left over blue paint from our master bedroom because I didn't want to spend money. 

 
Our new ceiling is clean and white and popcorn-free! Love it! I really love the blue on the walls too. This color is called Quiet Moments by Benjamin Moore and its a winner if you are looking for a soft and soothing blue for your home. 

Honestly, seeing the difference a fresh coat of paint made in this room, I am appalled that I ever considered the way it looked before to be acceptable. 

 See what I mean? So much better now. 


Now all I've got to do is replace the sink/counter top in this room and I think I will officially be finished with it!

Thanks for stopping by!
Jesse